Meta Information
Meta Title:
How To Set Up A Podcast Studio At Home (Step-by-Step Guide)
Meta Description:
Learn how to set up a podcast studio at home with affordable equipment, proper sound treatment, and easy setup tips. Perfect for beginners.
Focus Keyword:
Set up a podcast studio at home
URL Slug:/set-up-a-podcast-studio-at-home
Introduction
Starting a podcast from home has never been easier. You no longer need an expensive recording studio to produce professional-quality audio. With the right equipment, a quiet space, and smart setup choices, you can create a podcast studio at home that sounds amazing.
Whether you are a beginner or upgrading your current setup, this guide will walk you through everything you need to know. From choosing the right room to selecting microphones and improving sound quality, you’ll learn how to build a home podcast studio step by step.
If you are still planning your podcast, you may want to read How to Start a Podcast From Scratch in 2025 first.
Why You Need a Home Podcast Studio
A dedicated podcast studio helps you:
- Record consistent, high-quality audio
- Save money on studio rentals
- Record anytime you want
- Build a professional podcast brand
Even a small corner of your home can become a powerful recording space.
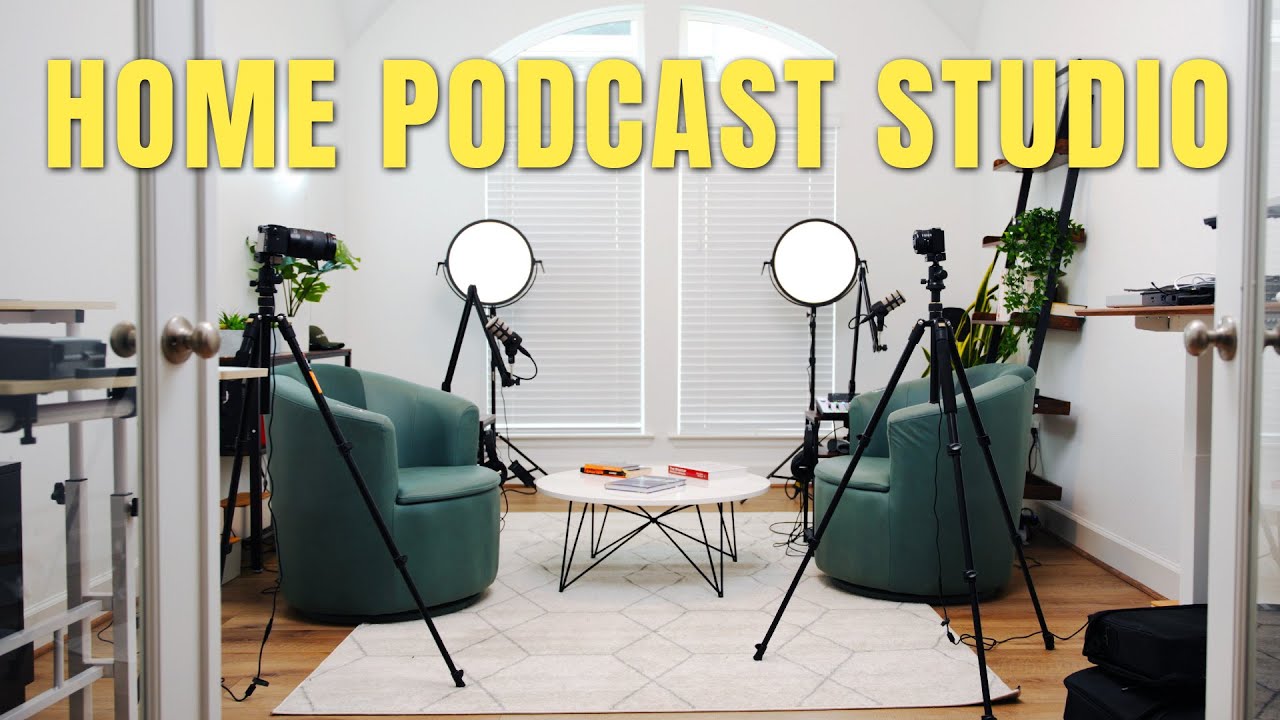
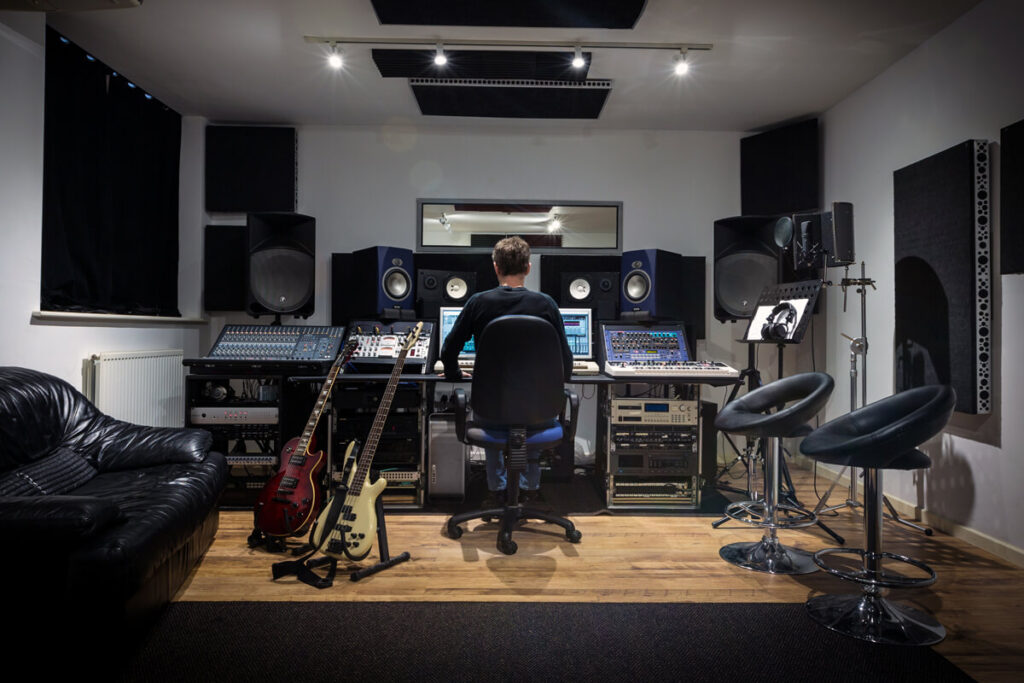
Step 1: Choose the Right Room
The room you choose matters more than expensive equipment.
Best Room Features
- Quiet and away from traffic or TV noise
- Smaller rooms are better than large echoing spaces
- Rooms with carpets, curtains, or furniture work best
Avoid: kitchens, bathrooms, and rooms with bare walls.
👉 Related reading: How to Record a Podcast at Home on a Budget
Step 2: Soundproofing vs Acoustic Treatment (Important Difference)
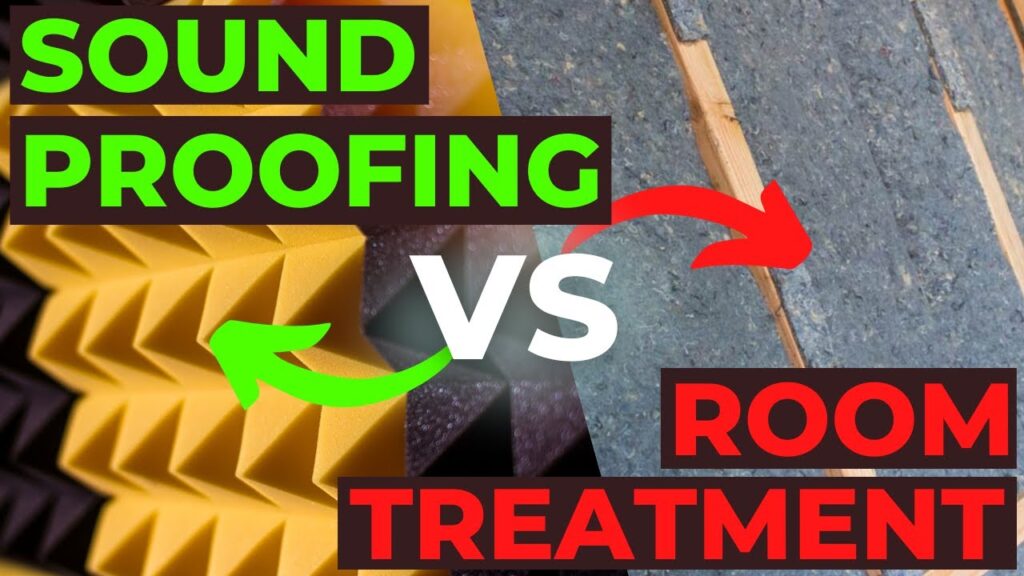
Many beginners confuse soundproofing with acoustic treatment.
Soundproofing
- Stops outside noise from entering
- Expensive and difficult
Acoustic Treatmenthttps://www.acoustiblok.co.uk/acoustic-treatment-a-complete-guide/
- Improves sound quality inside the room
- Affordable and effective
Easy Acoustic Treatment Tips
- Use foam panels on walls
- Hang thick curtains
- Place a rug or carpet on the floor
- Record near bookshelves or soft furniture
These simple steps reduce echo and make your voice sound clean.
Step 3: Choose the Right Podcast Microphone

Your microphone is the most important tool in your studio.
Best Microphone Types
USB Microphones (Beginner-Friendly)
- Easy to use
- Plug directly into your computer
- Examples: Blue Yeti, Samson Q2U
XLR Microphones (Professional)
- Better sound quality
- Require an audio interface
- Examples: Shure SM58, Rode PodMic
💡 Beginners should start with a USB microphone and upgrade later.
You can also read How to Choose the Perfect Podcast Equipment for a detailed breakdown.
Step 4: Audio Interface or Mixer (Optional)

If you use an XLR microphone, you’ll need an audio interface.
Why Use an Audio Interface?
- Converts microphone sound to digital audio
- Improves audio quality
- Allows multiple microphones
Popular beginner options:
- Focusrite Scarlett 2i2
- Behringer UMC22
For solo podcasters, this step is optional but helpful.
Step 5: Headphones for Monitoring
Always use closed-back headphones while recording.
Why Headphones Matter
- Hear background noise instantly
- Avoid echo and feedback
- Improve recording accuracy
Good options:
- Audio-Technica ATH-M20x
- Sony MDR-7506
👉 Helpful guide: Podcast Recording Mistakes to Avoid
Step 6: Podcast Recording Software
Recording software (DAW) captures and edits your audio.
Best Podcast Software
- Audacity (Free, beginner-friendly)
- GarageBand (Mac users)
- Adobe Audition (Professional)
Choose simple software if you are new. Advanced tools can come later.
Step 7: Mic Accessories You Should Not Skip
Small accessories make a big difference.
Must-Have Accessorieshttps://en.louisvuitton.com/eng-nl/women/accessories/iconic-accessories/_/N-t12h8cqk
- Pop filter – reduces harsh “P” and “B” sounds
- Boom arm or mic stand – keeps mic stable
- Shock mount – reduces vibrations
These items improve sound quality without high cost.
Step 8: Set Up Your Recording Position
Your recording position affects sound clarity.
Best Mic Placement
- Keep mic 6–8 inches from your mouth
- Speak directly into the microphone
- Sit upright for clear voice projection
Turn off fans, AC, and phone notifications before recording.
Step 9: Test and Optimize Your Studio
Before recording real episodes:
- Record a 1–2 minute test
- Listen with headphones
- Adjust mic gain and distance
- Check for background noise
Testing saves time and frustration later.
If you are planning content next, read How to Plan Your First 10 Podcast Episodes.
Internal Linking Summary (Used Naturally)
This article links to:
- How to Start a Podcast From Scratch in 2025
- How to Record a Podcast at Home on a Budget
- Podcast Equipment Guide
- Podcast Recording Mistakes to Avoid
- How to Plan Your First 10 Podcast Episodes
These internal links improve SEO, user experience, and site authority.
FAQs – Setting Up a Podcast Studio at Home
1. How much does it cost to set up a home podcast studio?
A basic setup can cost between $100–$300 using a USB microphone and free software.
2. Can I record a podcast in my bedroom?
Yes. Bedrooms often work well due to carpets, curtains, and soft furniture.
3. Do I need soundproofing panels?
No. Acoustic treatment is enough for most home podcasts.
4. Is a laptop enough for podcast recording?
Yes. A basic laptop with recording software is sufficient.
5. What is the best microphone for beginners?
USB microphones like the Samson Q2U or Blue Yeti are excellent choices.
Conclusion
Setting up a podcast studio at home does not have to be expensive or complicated. With the right room, a good microphone, simple acoustic treatment, and basic software, you can produce professional-quality podcasts from your own home.
Start simple. Improve step by step. What matters most is clear audio and consistent content.
Once your studio is ready, focus on recording great episodes and growing your audience. Your podcast journey starts at home.